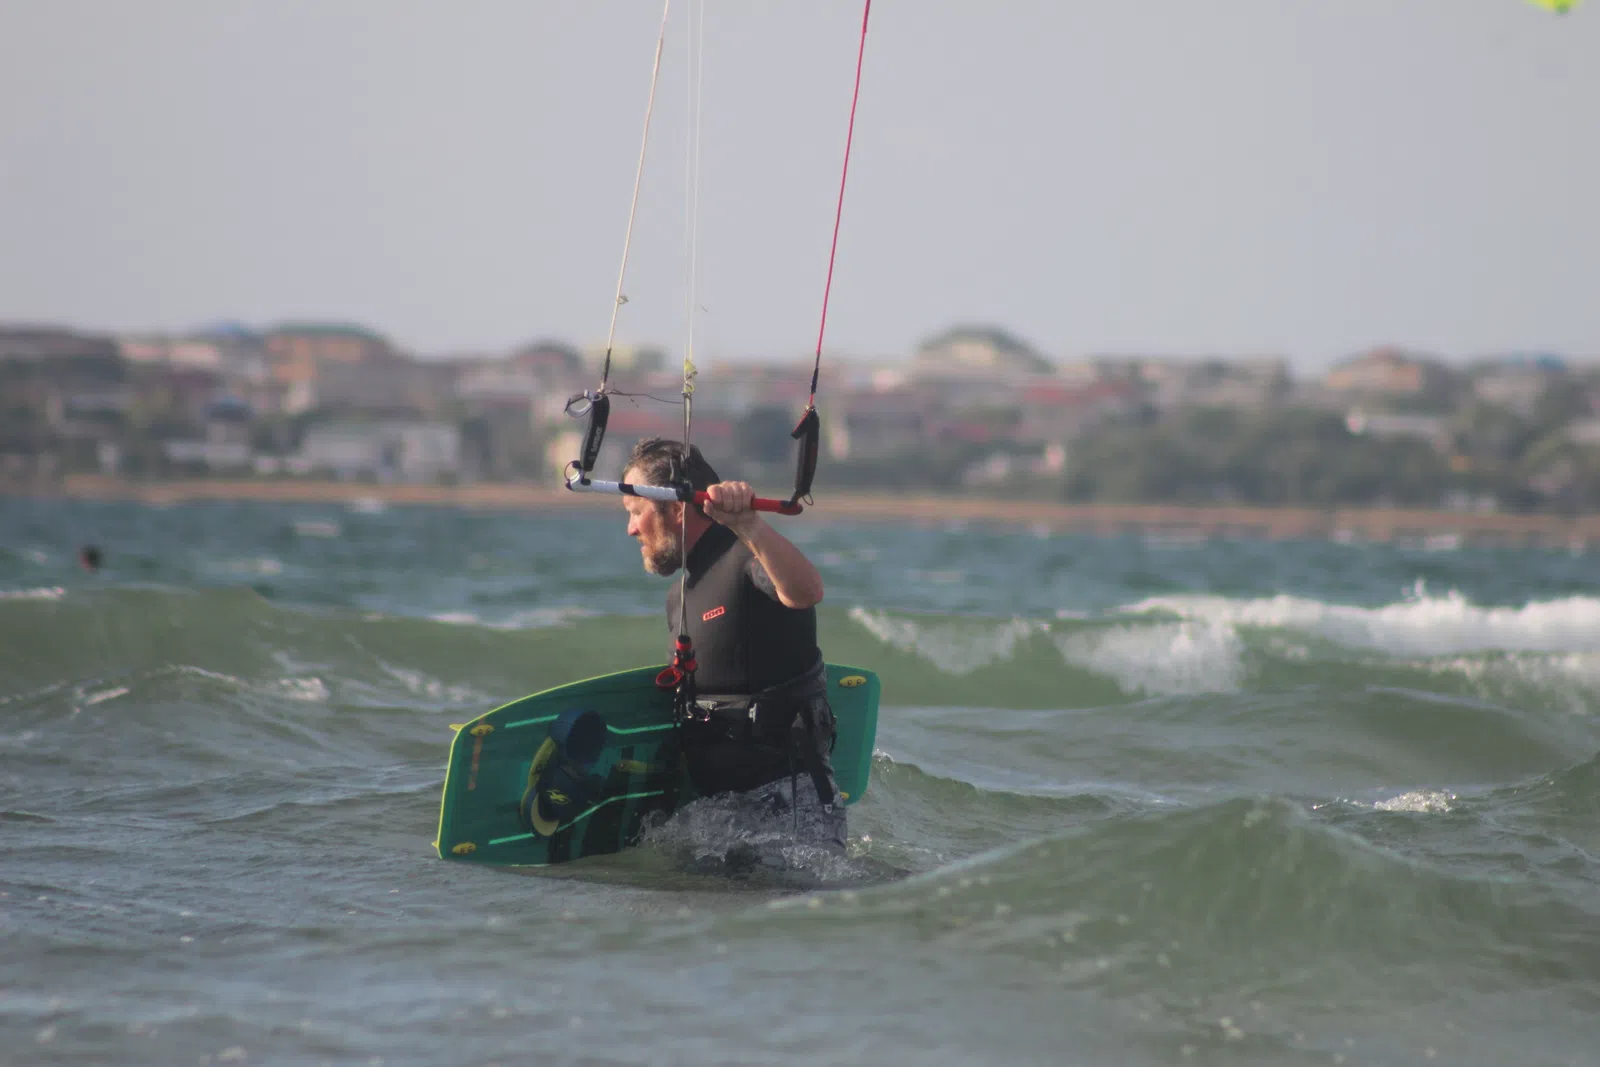
A canopy gets cut by your own board's fin, by a shell on the bottom, by a branch on the beach and by someone else's zip in the hold. This is a question of when rather than if, and the only variable is whether you carry twenty grams of the right materials.
What to pack in a repair kit
A minimum that fits a bag pocket and weighs under a hundred grams.
- Self-adhesive ripstop — tape or squares. The main material for quick repairs.
- A piece of canopy cloth — usually supplied with the kite. For a proper glued patch.
- Glue for bladders and cloth. Polyurethane, purpose-made.
- Bladder patches — from the kit, or bicycle ones.
- Fine sandpaper — to key the surface before gluing.
- Alcohol or degreaser in a small bottle.
- Scissors — small and sharp.
- A spare valve and its tool.
The most important item is the ripstop. It fixes ninety percent of damage in five minutes on the beach, and without it a trip can end on day one.
Three kinds of damage and what to do
One: a cut or hole in the canopy. The most common. Canopy cloth does not hold pressure — it holds shape. A small cut is not immediately critical but grows with every launch.
Two: a punctured bladder. The kite deflates. Repair is mandatory; you cannot ride.
Three: a seam or strut tear. The most serious. A seam is a structural element, and failing in flight means losing shape.
A quick canopy repair with ripstop
Five minutes on the beach, good for the rest of the trip.
- Deflate the kite fully. Patching under pressure is pointless: the cloth is stretched and the patch will lift.
- Dry and degrease the area. Salt and water are the main reason patches fall off. Wipe with alcohol.
- Cut the patch generously. At least two centimetres beyond the damage in every direction.
- Round the corners. Essential. A square patch peels from a corner; a rounded one holds.
- Patch both sides. Outside and inside, so the load is shared.
- Press it and leave it. Twenty minutes under weight beats going straight back out.
The classic beginner's error is too small a patch. Canopy cloth works in tension, and the edges of a cut keep spreading under load. The patch must cover the tension zone, not just the hole.
Bladder repair
Slower and requiring patience, but doable in a hotel room.
- Remove the bladder. On most kites the leading edge unzips along its length.
- Find the puncture. Inflate and submerge section by section, looking for bubbles. In a room, use soapy water.
- Key the area with sandpaper. Glue does not hold on smooth polyurethane.
- Degrease, apply glue to both surfaces. Let it go tacky, then join.
- Weight it for several hours. Overnight is better.
Important when reinserting: make sure the bladder is not twisted. A twisted bladder creates uneven tension and the kite will fly crooked.
What not to repair — and this matters most
A structural seam tear longer than five centimetres. A patch will not restore seam strength. The kite will fly and then keep opening — usually at the worst moment.
Damage at a bridle attachment. A load concentration point. Workshop only.
Multiple cuts in one area. A sign the cloth is already tired. Patching there is a postponement.
A leading edge split along its length. Without an intact leading edge the kite does not hold shape, and no patch substitutes for that.
The rule is simple: if the damage crosses a seam, a load tape or sits next to an attachment, you are not repairing but delaying. Better to end the session honestly and find a workshop.
Avoiding repairs in the first place
Half of all damage happens off the water.
Do not drag the kite over sand or shingle. Abrasion cuts cloth as effectively as a blade, only slower.
Check your launch area. A branch, a shell or a shard of glass under the canopy is a classic cause.
Lay the kite canopy up and weight it with sand. Not stones: a sharp-edged stone will cut the cloth in one session.
In luggage, bagged and away from fins. A board fin in a soft bag slices a canopy in a single flight. On packing, see our checklist.
Rinse and dry in the shade. UV makes cloth brittle, and brittle cloth cuts at a touch. The same logic as foil kite care.
A note on foil kites
Their repairs differ, and that is worth knowing.
The canopy patches the same way — ripstop works.
But ribs and internal load tapes cannot be fixed on a beach. A tear in the internal structure changes the shape of the whole wing.
And the lines. A foil kite has many more, of differing lengths, and a mixed-up or incorrectly replaced line changes the geometry. Workshop only.
Common questions
What must I take on a trip?
Self-adhesive ripstop. It fixes most canopy damage in five minutes on the beach.
Can I patch a wet canopy?
No. Salt and moisture are the main reason patches fall off. Drying and degreasing are essential.
Why round the corners of a patch?
A square patch starts peeling from a corner. A rounded one lasts far longer.
What must I not repair myself?
Structural seam tears, damage at bridle attachments, and leading edges split along their length.
How reliable is a ripstop repair?
For a small cut in the body of the canopy, it lasts the trip and beyond. In structural zones it is a temporary measure.
What to read next
Our packing checklist, drying and storage, and how a bridle works. Repair kits and spares are in the accessories section.
Want advice from an instructor?
Our IKO instructors will help you choose gear or plan a kite trip to Mui Ne — free of charge.
Read next
The Pivot is stated as freeride plus waves, the Reo as pure wave. How an all-rounder with a wave bias differs …
Naish Boxer Review: From 2.8 to 16 Metres in One RangeThe Boxer covers a span most brands split across three models. Why a 2.8 m exists, what a 16 m does, and how t…
Naish Pivot 2026 Review: Why It Is Named After a TurnThe Pivot is Naish's core model and a wave-riding benchmark. Eight sizes from 6 to 14 m, from 1,225 €. What th…