Every kiter eventually has a session that goes wrong. The wind drops, a bridle line breaks, the kite lands upside down and will not come back. What separates a bad afternoon from a rescue boat is whether you know self-rescue — and whether you practised it before you needed it.
This is the sequence we teach at K1 as part of the IKO Intermediate level. Read it, then go and do it in shallow water on a calm day.
Step 1. Stop and assess
Before you touch anything, look. How far are you from the beach? What is downwind of you — open sea, rocks, a pier? Is anyone on shore watching? Panic burns energy you will need, and almost nothing about your situation gets worse in the next thirty seconds.
Step 2. Secure the kite
Release the chicken loop if the kite is pulling uncontrollably. On most modern systems the kite depowers onto the safety line and flags out. It is now a flapping sail rather than an engine — annoying, but not dangerous.
Step 3. Get the lines under control
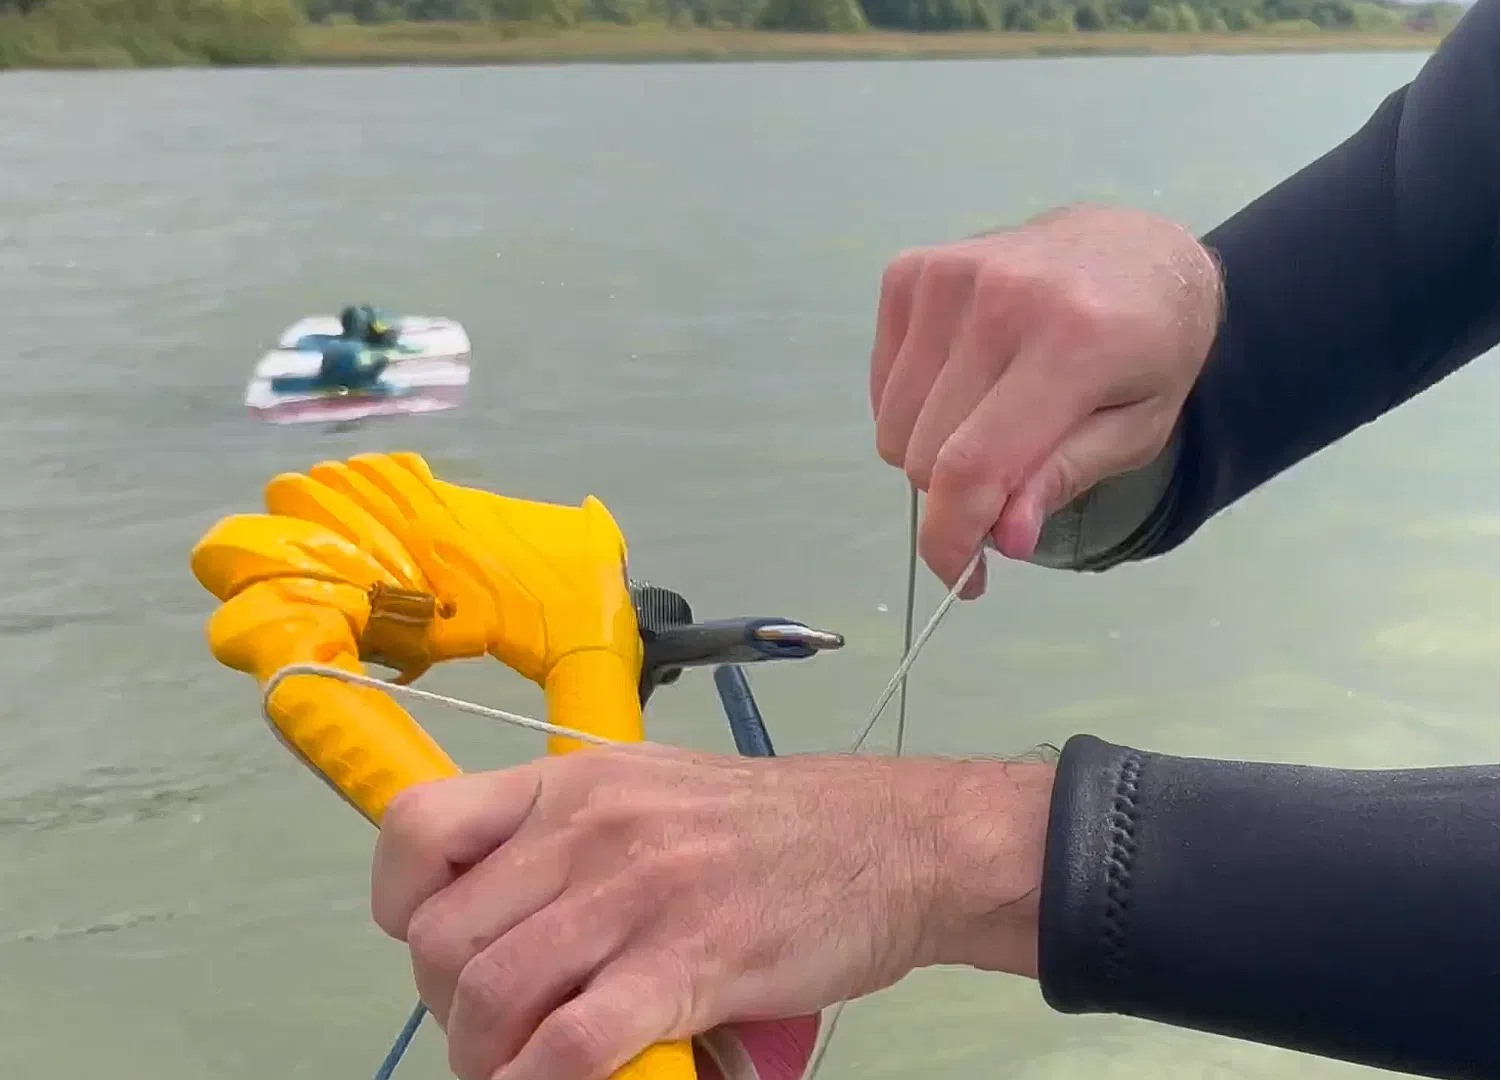
Pull yourself up the safety line to the bar, then wind the lines around the bar as you go. Never swim through loose lines. This is the single most dangerous moment in the whole sequence: a kiter tangled in lines with a kite that suddenly powers up is in serious trouble.
This is also why a hook knife on your harness is not optional. If you end up wrapped in lines, you have seconds to cut yourself free, and you will not have time to find a knife in a pocket. Buy one, mount it where your hand falls naturally, and check it before every session.
Step 4. Reach the kite
Keep winding until you get to the kite itself. Take hold of a wingtip — not the middle of the leading edge, which will fight you.
Step 5. Turn the kite into a sail
Fold the kite so the leading edge is on the water and the canopy catches wind. Hold one wingtip, lie on your back, and let the kite drag you downwind toward the shore. In side-onshore wind, as at our beach in Mui Ne, this takes you towards the sand rather than away from it.
Step 6. Or pack down and swim
If you are close to the beach and the wind is useless, roll the kite around the bar, put it under your chest and swim. It is slow, and it works. Keep the board if you can, but never at the cost of your energy — a board is replaceable, you are not.
Step 7. Signal
The international distress signal on the water is one arm raised and waved slowly. Learn it. Anyone watching from the beach who knows the sport will understand it immediately. Waving both arms frantically reads as "hello" to half the beach.
What actually prevents all of this
- Check the forecast before you rig, not after. Dying wind is the most common reason for self-rescue.
- Never ride in pure offshore wind. Side-offshore, as Malibu sometimes is, works. Straight offshore takes you out to sea when things fail.
- Know what is downwind of you before you launch — that is where you will end up.
- Carry the knife. Yes, again.
- Practise self-rescue once a season in shallow water where you can stand. It takes twenty minutes and it is the difference between remembering and improvising.
Self-rescue is part of every course we run — see kitesurfing lessons in Mui Ne. If you already ride and just want to drill it properly, book a single hour with an instructor; it is the cheapest insurance in the sport.
Want advice from an instructor?
Our IKO instructors will help you choose gear or plan a kite trip to Mui Ne — free of charge.
Read next
Starboard came out of windsurfing and became the leading name in SUP. The range: inflatable and hard boards, p…
Inflatable SUP vs Hard Board: What to Choose and the Real DifferenceAn inflatable fits in a boot; a hard board goes faster. Eight differences you feel on the water, and when payi…
How to Read a SUP Board Size: 10'8" x 33", Litres and What MattersThree numbers — length, width and volume — decide whether you paddle or fall. What each one means and how to m…